Know Easy Steps for How to Install Epson L120 Printer Without CD
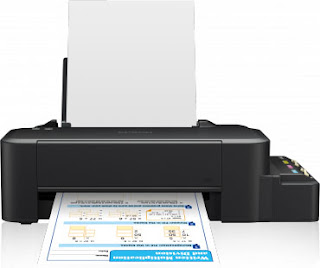
Epson L120 printers are the ultimate printer that has grabbed the attention of several people all over the world for their excellent performance. It is one of the most reliable printers among various printer models that deliver smooth performance and high-quality printing quality. With this multifunctional printer, users can print, scan, copy and fax documents very easily according to their requirements. But before starting the various printer functions, the users need to do the complete printer setup for their printer model number. Most of the time, when you buy a new printer then it comes with an installation CD with the help of which you can set up your printer. In case, you do not find any CD with your printer then don’t worry! Even without the installation CD, you are able to perform the installation steps for printer setup. In this blog, we are going to provide some simple guidelines that tell you how to install Epson L120 printer without CD. So, let’s get started with these steps to complete the Epson printer setup for your device.
How to Install Epson L120 Printer Without CD?
Go through the below steps if you want to set up your Epson L120 printer for the first time after purchasing it on your device. Carry out the following instructions step by step:
- Firstly, turn on your computer.
- After that, go to the official website of Epson and download the setup file for your Epson L120 printer model number.
- During downloading the software setup file of your printer, ensure that you have entered the correct printer model details otherwise you will face issues and be unable to complete the printer setup for your printer model number.
- In the next step, connect your Epson printer to the computer by using the USB cable. But, make sure not to connect the USB cable until you are prompted to do the same.
- Once you downloaded the printer setup file, go to the downloaded folder on your device.
- Tap on the setup file that you have downloaded and follow on-screen instructions to complete the installation and setup process.
- When the installation Wizards on your system asks you to connect your printer with your device then connect both of the devices by using the USB cable.
- Go ahead with the installation wizard instructions.
- Now, your printer is ready to use for printing purposes. Try to print the document.
Another step that you need to perform for the smooth functioning of your Epson printer device is the installation of the latest version printer drivers and software correctly on your device as drivers are very important for communication between computer and printer. If you do not install the printer driver in your system then your device cannot interact with the printer and print the documents. Once you are done with the above steps, you can print the documents.

We hope that the above-written steps will help you to know how to install Epson L120 printer without CD. All the instructions are simple and easy to follow. You only need to read them properly and follow the steps according to them. In case you are unable to install the Epson L120 printer without a CD then you can contact the technical experts for better guidance to complete the printer setup.


Comments
Post a Comment